You painted your walls a few months ago, and now you are staring at bubbles, cracks, and peeling patches that make the room look years older than it is. This is one of the most common complaints homeowners have, and it almost always traces back to a handful of fixable causes rather than bad luck. Understanding why paint fails early can save you time, money, and the frustration of repainting the same wall twice in one year. Below, we break down the real reasons your paint job did not last and what to do differently next time.
Skipping Proper Surface Preparation Before Painting
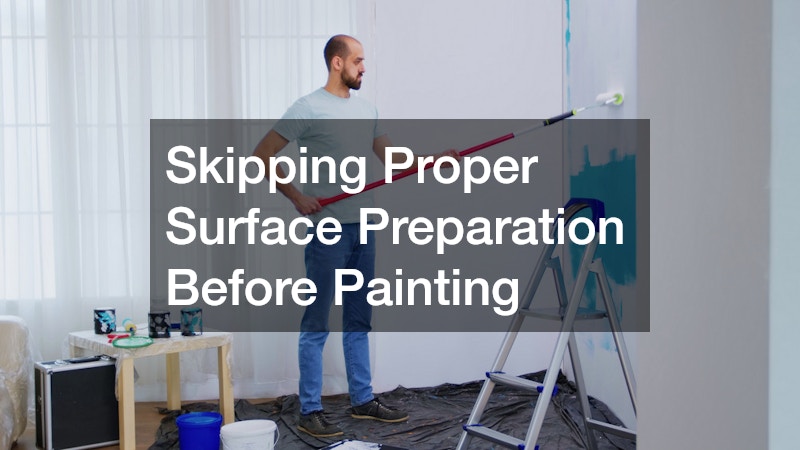
Paint needs a clean, dry, and stable surface to bond to, and skipping this step is the single biggest reason walls peel early. Dust, grease, old flaking paint, and even humidity trapped in drywall can prevent proper adhesion no matter how expensive the paint can was. A wall that looks clean to the naked eye can still carry a thin film of cooking oil, hand oils, or mildew residue that keeps paint from gripping the surface.
Many homeowners rush this stage because it feels like busywork, but it is actually the foundation of a long-lasting finish. Proper prep usually means washing walls with a mild detergent solution, letting them dry fully, sanding glossy or uneven patches to give the new coat something to grab onto, and scraping away any loose or flaking paint down to a solid edge. Moisture matters too — painting over drywall or plaster with more than 15% moisture content, easily checked with an inexpensive moisture meter, is a near-guarantee of future bubbling.
Priming is the step most often skipped entirely, yet it’s what seals porous surfaces, blocks stains from bleeding through, and gives paint a uniform base to bond with. This is especially critical on new drywall, patched areas, or walls that have gone from a dark color to a light one, where uneven absorption can cause blotchy peeling later. Sanding, cleaning, and priming may add a day to your project, but they add years to the result.
- Wash walls with a mild detergent (like dish soap and water) to remove grease, dust, and cobwebs, then rinse with clean water before painting
- In kitchens and bathrooms, degrease with a stronger cleaner to cut through cooking residue or soap scum, since paint won’t bond to greasy film
- Sand glossy or previously painted surfaces with 120-150 grit sandpaper to scuff the surface and help new paint grip
- Wipe away sanding dust with a tack cloth or damp rag before applying paint
- Fill cracks and holes with spackle, let it dry fully (usually 1-2 hours, or longer for deep holes), then sand smooth before priming
- Use a primer on bare drywall, wood, or stained areas so the surface absorbs paint evenly and true color shows through
- Choose a stain-blocking primer for water marks, smoke damage, or wood tannins that might bleed through topcoats
- Avoid painting over damp or newly plastered walls; let new plaster cure for several weeks and check moisture with a simple hand test or moisture meter
- Check weather and humidity before starting exterior work, since high humidity slows drying and weakens paint adhesion
Applying Paint in the Wrong Temperature or Humidity
Paint is a chemical product that cures best within a specific temperature and humidity range, usually between 50 and 85 degrees Fahrenheit with moderate humidity. When walls are painted in a room that is too cold, too hot, or too damp, the paint film can dry unevenly, trapping moisture underneath the surface. This trapped moisture eventually pushes its way out, causing bubbles and peeling within weeks or months. Bathrooms and kitchens are especially prone to this problem because of steam and condensation, which is why many homeowners eventually call in a bathroom remodeling service to address ventilation issues alongside the cosmetic damage, and why some opt to pair the fix with water-resistant vinyl plank flooring to better handle the humidity these rooms generate.
If you notice peeling concentrated near showers, tubs, or stovetops, humidity is likely the culprit rather than the paint itself. Running an exhaust fan during and after showers, and waiting at least a few hours before closing a steamy bathroom door, can make a noticeable difference. Painting during a dry season or using a dehumidifier in the room while the paint cures also helps the film set properly.
Using Low Quality Paint or Mismatched Products
Not all paint is created equal, and bargain-bin cans often lack the binders and resins needed to create a durable, flexible film. Cheaper paints tend to dry brittle, which means they crack under the natural expansion and contraction that walls experience with temperature changes. Mixing incompatible products, like applying a water-based paint over an old oil-based finish without proper preparation, can also cause peeling because the layers never truly bond. Spending a little more on quality paint and primer is one of the most cost-effective ways to avoid a repeat project.
- Choose paint with a proven track record for interior durability
- Match paint types to avoid oil-over-latex or latex-over-oil conflicts
- Check the paint can label for recommended surfaces and conditions
- Avoid stretching a gallon too far by adding excessive water or thinner
Ignoring Water Damage and Moisture Intrusion
Paint cannot hide or fix an underlying moisture problem, and it will fail again and again until the source is addressed. Leaking pipes, roof damage, or poor drainage around the foundation can send moisture into walls, causing paint to blister, bubble, or peel no matter how well it was applied. Even a small, slow leak behind drywall can wick moisture upward and outward for months before any visible signs appear on the painted surface.
If you notice recurring damage in the same spot, it is worth investigating further before reaching for another paint roller. A simple test is to dry the area completely, repaint a small patch, and watch whether the same bubbling or discoloration returns within a few weeks; a quick recurrence almost always points to active moisture rather than a one-time application error. Using a moisture meter on the wall can also confirm whether readings are above the normal 12-15% range for interior drywall, which signals an ongoing intrusion rather than old, dried-out staining.
In some cases, moisture intrusion near windows is actually a sign that window installations were done poorly or that seals have failed over time, letting water seep into the surrounding wall cavity. Gaps in flashing, degraded caulk, or improperly sloped sills can all funnel rainwater directly behind the trim, where it saturates the framing and drywall long before a homeowner notices anything wrong on the surface. Addressing these issues often means resealing or even removing and reinstalling the window trim, not just patching and repainting the visible wall.
Discoloration, a musty smell, or soft drywall are all warning signs that moisture is the real problem, not the paint job. Yellow or brown staining often points to a roof leak or plumbing issue working its way through the wall cavity, while a persistent musty odor usually signals mold growth behind the surface, even if you can’t see it yet. Bubbling or peeling paint concentrated near windows, ceilings, or the bottom of walls is another telltale clue that water is getting in from somewhere specific.
Before you reach for a paintbrush, track down the actual source. Common culprits include leaky roof flashing, cracked exterior caulk around windows, poor grading that pushes rainwater toward the foundation, and bathrooms or kitchens without adequate exhaust ventilation. A moisture meter can confirm whether a wall is still holding excess water, since drywall should read below 1% moisture content before it’s safe to repaint.
Addressing the leak or ventilation issue first will save you from an endless cycle of touch-ups. Skipping this step means paint will keep failing every few months, no matter how expensive or high-quality the product is. In some cases, damaged drywall or insulation will need to be cut out and replaced entirely, especially if mold has taken hold.
Once the moisture source is resolved and the wall has fully dried out, repainting will actually last as expected. Give plaster or drywall at least 48 to 72 hours of dry time, longer in humid climates, before applying primer. A stain-blocking primer is worth the extra step, since it seals in any remaining discoloration and keeps it from bleeding through your new topcoat.
Painting Over Poorly Installed Siding or Exterior Trim
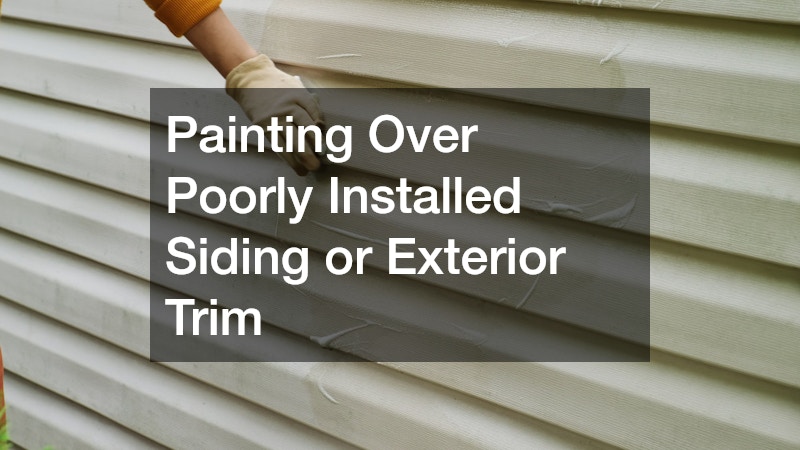
While much of this issue applies indoors, exterior paint failures often start with problems in the siding itself rather than the paint application. Gaps, warping, or improperly sealed seams allow water behind the siding, which then works its way to interior walls and causes peeling from the inside out. Homeowners dealing with recurring exterior paint failure should have their siding contractors inspect for hidden damage before repainting again. Addressing structural issues first ensures that new paint actually has a chance to last its full lifespan.
- Look for warped, cracked, or loose siding panels near peeling interior walls
- Check caulking around seams and corners for gaps or deterioration
- Inspect flashing above windows and doors for proper water diversion
- Replace damaged siding sections rather than painting over them
Overlooking Ventilation Problems in Living Spaces
Poor airflow allows humidity to linger indoors, which weakens paint adhesion over time even in rooms far from bathrooms or kitchens. Closed-off spaces, rooms with blocked vents, or homes with older HVAC systems often trap moisture in the air longer than they should. This lingering humidity softens paint film and makes it more likely to peel at the edges or in corners where air circulation is weakest. Improving airflow throughout the home is a simple but often overlooked way to extend the life of any paint job.
Something as small as adjusting your window blinds to allow better air circulation and natural light can help reduce condensation buildup on interior walls. Rooms that stay dark and closed off tend to hold onto moisture longer, creating the perfect conditions for paint failure. Opening blinds during the day and allowing sunlight in can gradually help walls dry out and stay drier long term.
Choosing the Wrong Flooring Transitions Near Painted Walls
It might seem unrelated, but flooring choices near baseboards and walls can contribute to peeling paint if moisture or adhesives are involved. Installing hardwood floors without proper acclimation can release residual moisture into the air, which affects nearby wall paint during the curing process. Similarly, some flooring adhesives release fumes and moisture that interact poorly with fresh paint on adjacent walls. Coordinating the timing of flooring and painting projects helps both finishes cure properly without interfering with each other.
Homeowners installing epoxy flooring in garages or basements should also be aware that the curing process can temporarily raise humidity levels in adjoining rooms. Likewise, hardwood floors installed over slightly damp subfloors can trap moisture that eventually migrates into baseboards and lower wall sections. Waiting for flooring projects to fully cure before painting nearby walls, or vice versa, reduces the risk of premature peeling.
Rushing Renovation Timelines Without Proper Sequencing
Many peeling paint problems trace back to poor project sequencing during larger renovations rather than the paint itself. When homeowners tackle several updates at once, walls often get painted before other trades have finished work that could affect moisture levels or surface stability. Coordinating with home remodeling services to establish a proper timeline ensures that painting happens at the right stage, after drywall, plumbing, and structural work are complete and fully dry. This sequencing matters just as much for smaller projects, like backyard remodeling that involves exterior walls, patios, or attached structures where moisture and dust can travel indoors.
- Complete plumbing and electrical work before final wall preparation
- Allow drywall mud and patches to dry fully before priming
- Schedule painting after flooring and major moisture-generating work
- Communicate timelines clearly if multiple contractors are involved
Hiring Inexperienced Painters or Skipping Professional Help
DIY painting can save money, but inconsistent technique, wrong tools, or rushed application often leads to early paint failure. Applying paint too thick, missing spots during priming, or using the wrong roller nap for the wall texture are common mistakes that compromise durability. Experienced interior painting contractors know how to assess a wall’s condition, choose the right products, and apply paint in the correct number of coats for lasting results. Their trained eye can catch problems, like hidden moisture or uneven surfaces, before they become expensive repairs.
Professional painters also understand drying times between coats and how weather conditions on the day of painting can affect the final result. This experience reduces the trial and error that often leads homeowners to repaint the same room multiple times. While hiring help is an investment, it often costs less in the long run than repeatedly buying paint and supplies for a job that keeps failing.
Peeling and cracking paint is rarely just bad luck, it is almost always a sign that something in the preparation, environment, or underlying structure needs attention. By identifying the real cause, whether it is moisture, poor prep, low quality materials, or rushed sequencing, you can finally break the cycle of repainting the same walls year after year. Take a closer look at the specific areas where your paint is failing and match the symptoms to the causes outlined above. With the right approach, your next paint job can look great for years instead of months.